Set up with AI
Set up your pages with AI
The “Set up with AI” wizard creates a complete set of SEO pages in a few steps, in about five minutes. AI suggests the search terms, locations, titles, text and SEO texts, and you choose. Nothing goes live: the wizard creates drafts that you check and publish yourself.
Before you start
- An API key. The wizard uses your own API key of OpenAI, Anthropic, Google Gemini or Mistral. Add it on the AI tab of the settings or in Plugin setup. See Using AI in SEO Generator.
- Spintax switched on. With spintax, every page gets its own version of the title, the text and the SEO texts. If spintax is off, the wizard shows a notice with a button to switch it on.
- Your progress is saved. The wizard saves your progress automatically. You can leave and continue later.
Open the wizard
Go to SEO Generator › Set up with AI, or click ✨ Set up with AI at the top of the list of settings pages. As long as you have no settings pages, the empty list also has a Set up with AI button. When you click Add New, you can also choose between “Set up with AI” and setting everything up yourself.
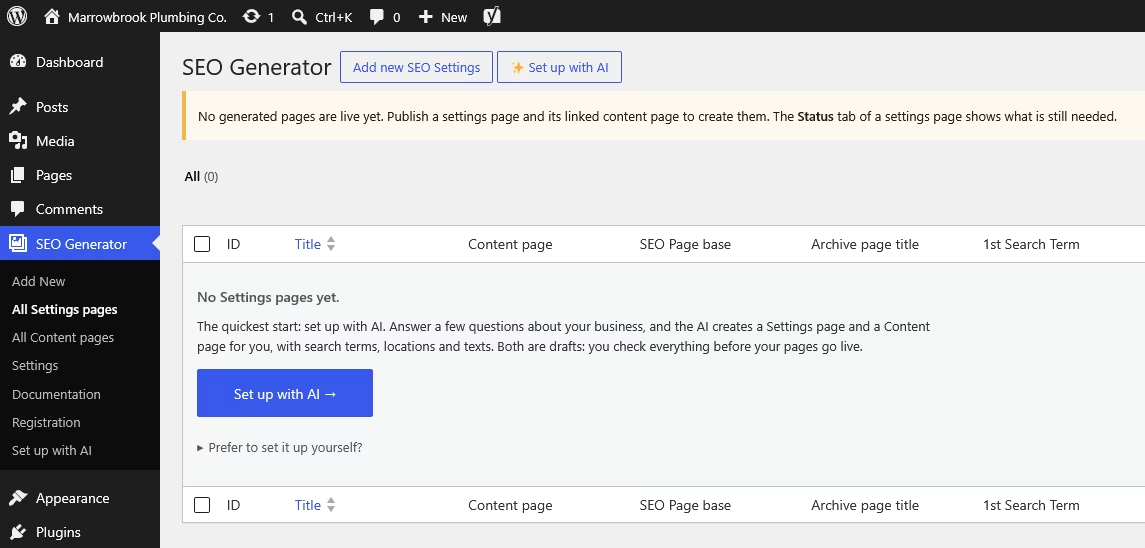
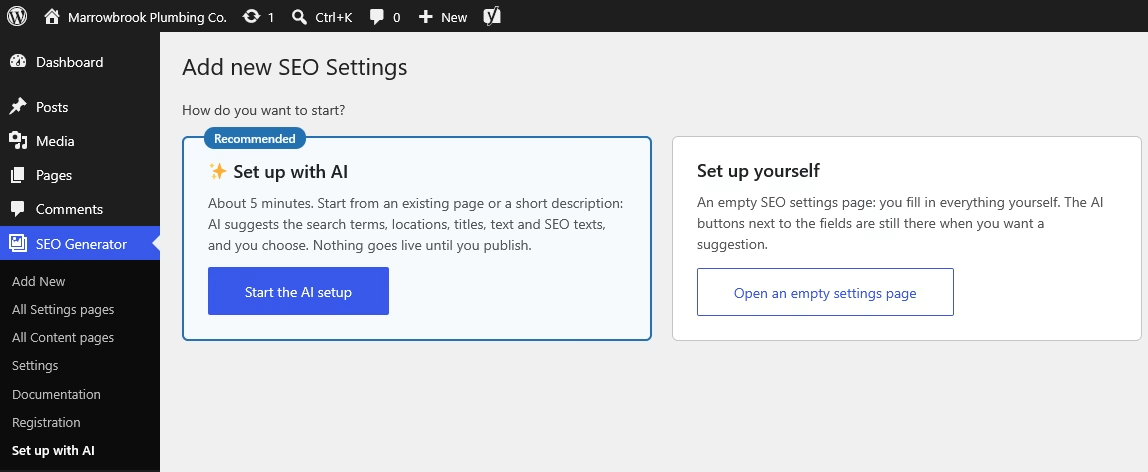
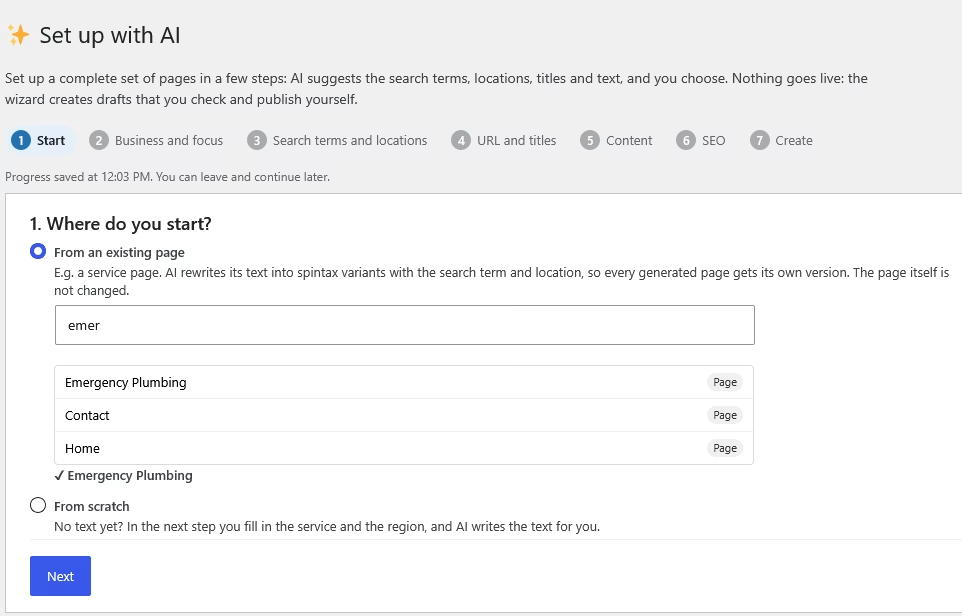
At the top of the wizard you see the seven steps. You can always go back to an earlier step by clicking it.

1. Where do you start?
- From an existing page, for example your service page “Emergency Plumbing”. Search the page by its title and choose it. AI later rewrites its text into spintax variants with the search term and location. The page itself is not changed.
- From scratch, when you have no text yet. AI writes the text for you, based on what you fill in in the next step.
2. Your business and the focus of these pages
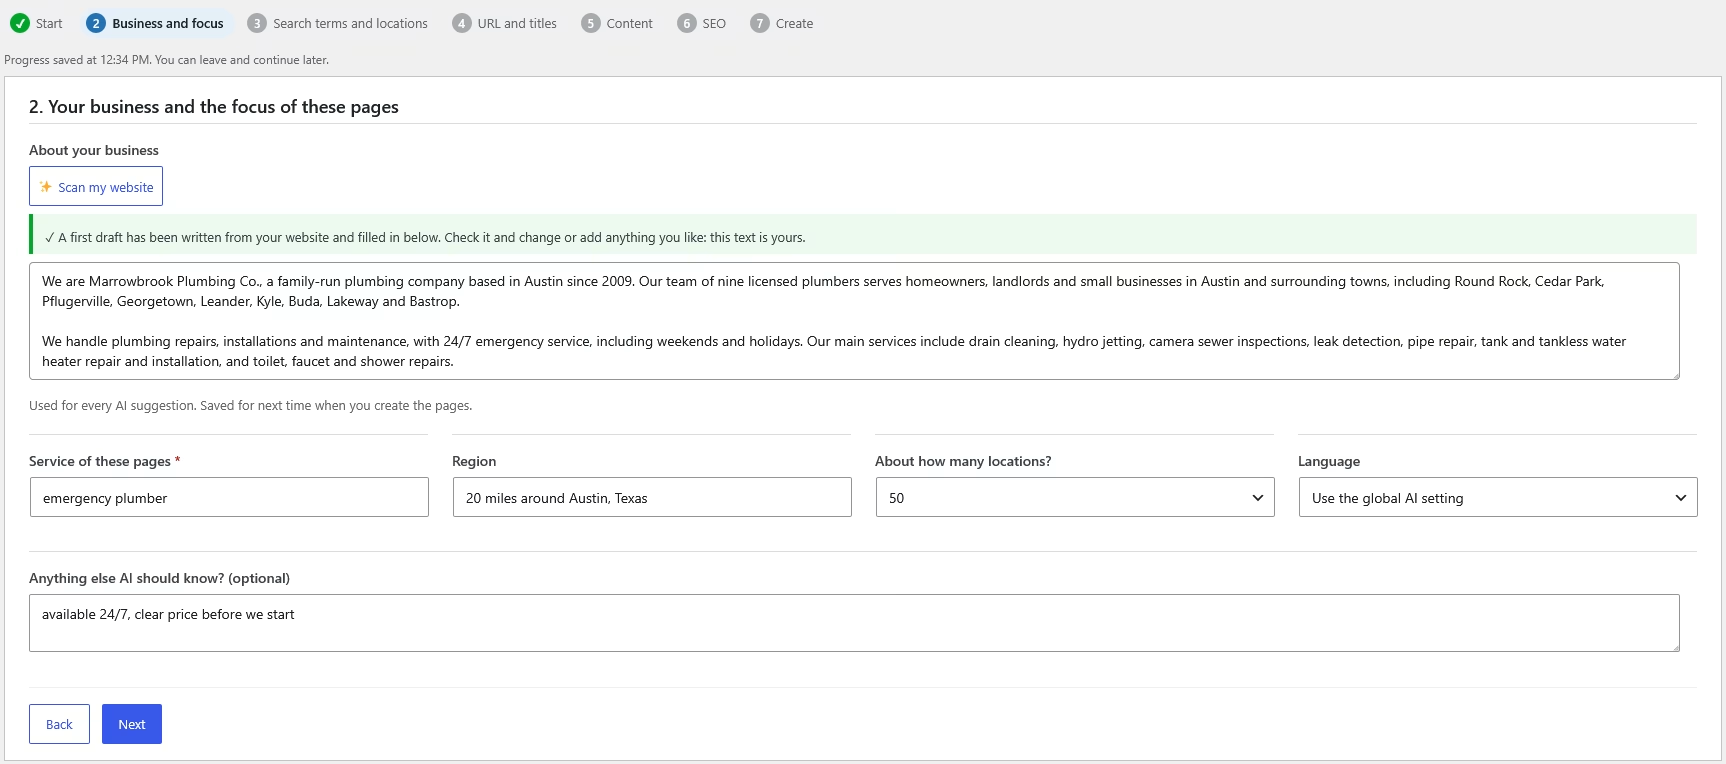
- About your business: a short description of what you do, your area, your customers and your tone of voice. AI uses it for every suggestion. No description yet? Click Scan my website to let AI write a first version from your own website. You first see which pages are read, and nothing is sent until you confirm.
- Service of these pages (required): what the pages are about, for example “emergency plumber”.
- Region: where you work, for example “20 miles around Austin, Texas”. AI also uses your business description, so it starts with the places you mention there.
- About how many locations? How many places you want pages for.
- Language: the language AI writes in.
- Anything else AI should know? Optional, for example “available 24/7” or “clear price before we start”.
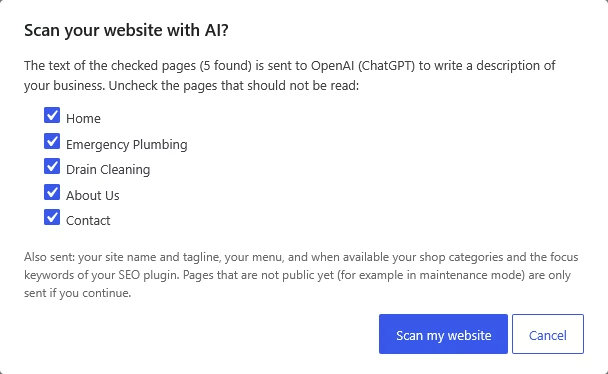
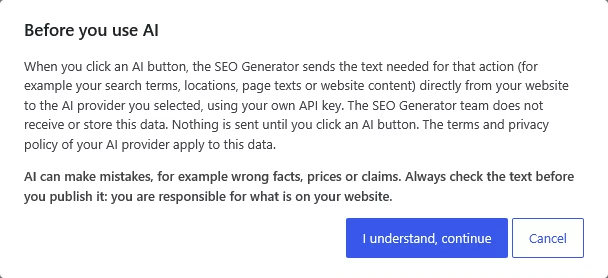
The first time something is about to be sent to your AI provider, you see a privacy notice. It explains what is sent and reminds you to check what AI writes. Click I understand, continue. You only see it once. In the wizard, that is usually when you confirm Scan my website.
3. Search terms and locations
Every search term is combined with every location: each combination becomes one page. Click Suggest everything in this step to fill in both lists at once, or use the buttons per field to see the suggestions first and choose yourself. You can always change the lists afterwards.
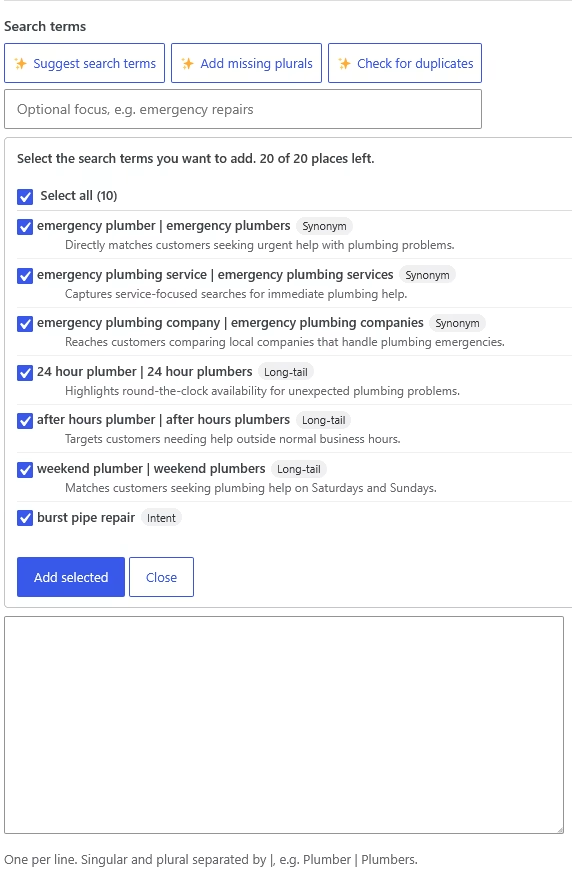
- Search terms: with Suggest search terms, AI suggests search terms with labels like Synonym, Long-tail and Intent. Tick the ones that fit. Use Add missing plurals for search terms without a plural form, and Check for duplicates to clean up the list.
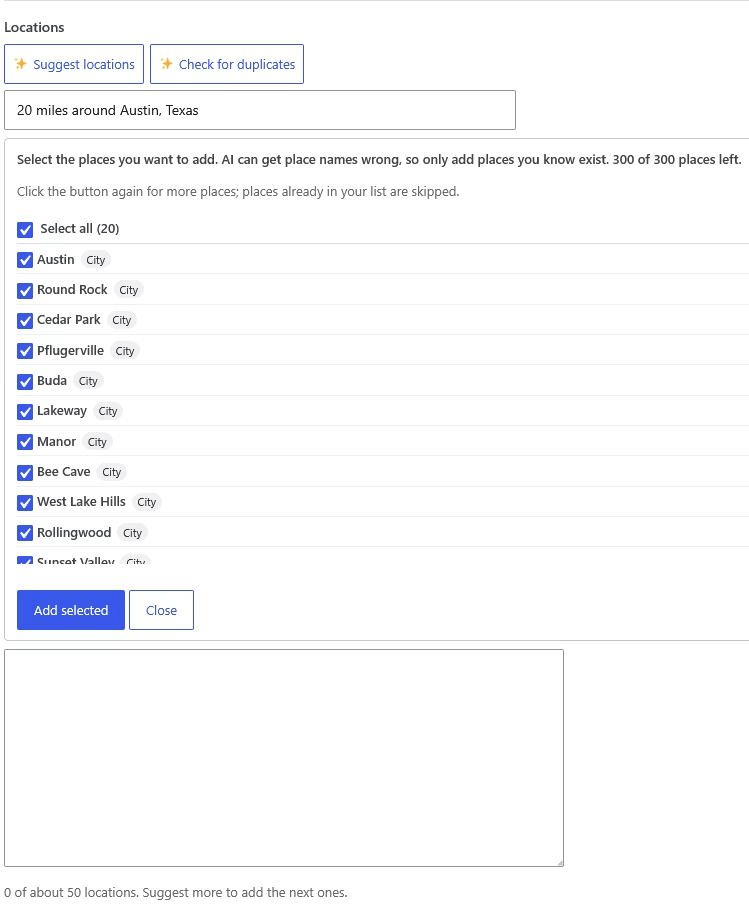
- Locations: with Suggest locations, AI suggests places in your region, with labels like City, Town and Village. AI can get place names wrong, so only keep places you know exist, also when the list was filled in for you. Click Suggest more locations for more places.
Search terms of the same kind work best together on one settings page, for example all kinds of plumber on one, and repairs like “burst pipe repair” on another. Then every sentence fits every page.
Fewer pages with good content usually work better than very many pages. Start with your most important places; you can add more later.
4. URL and titles
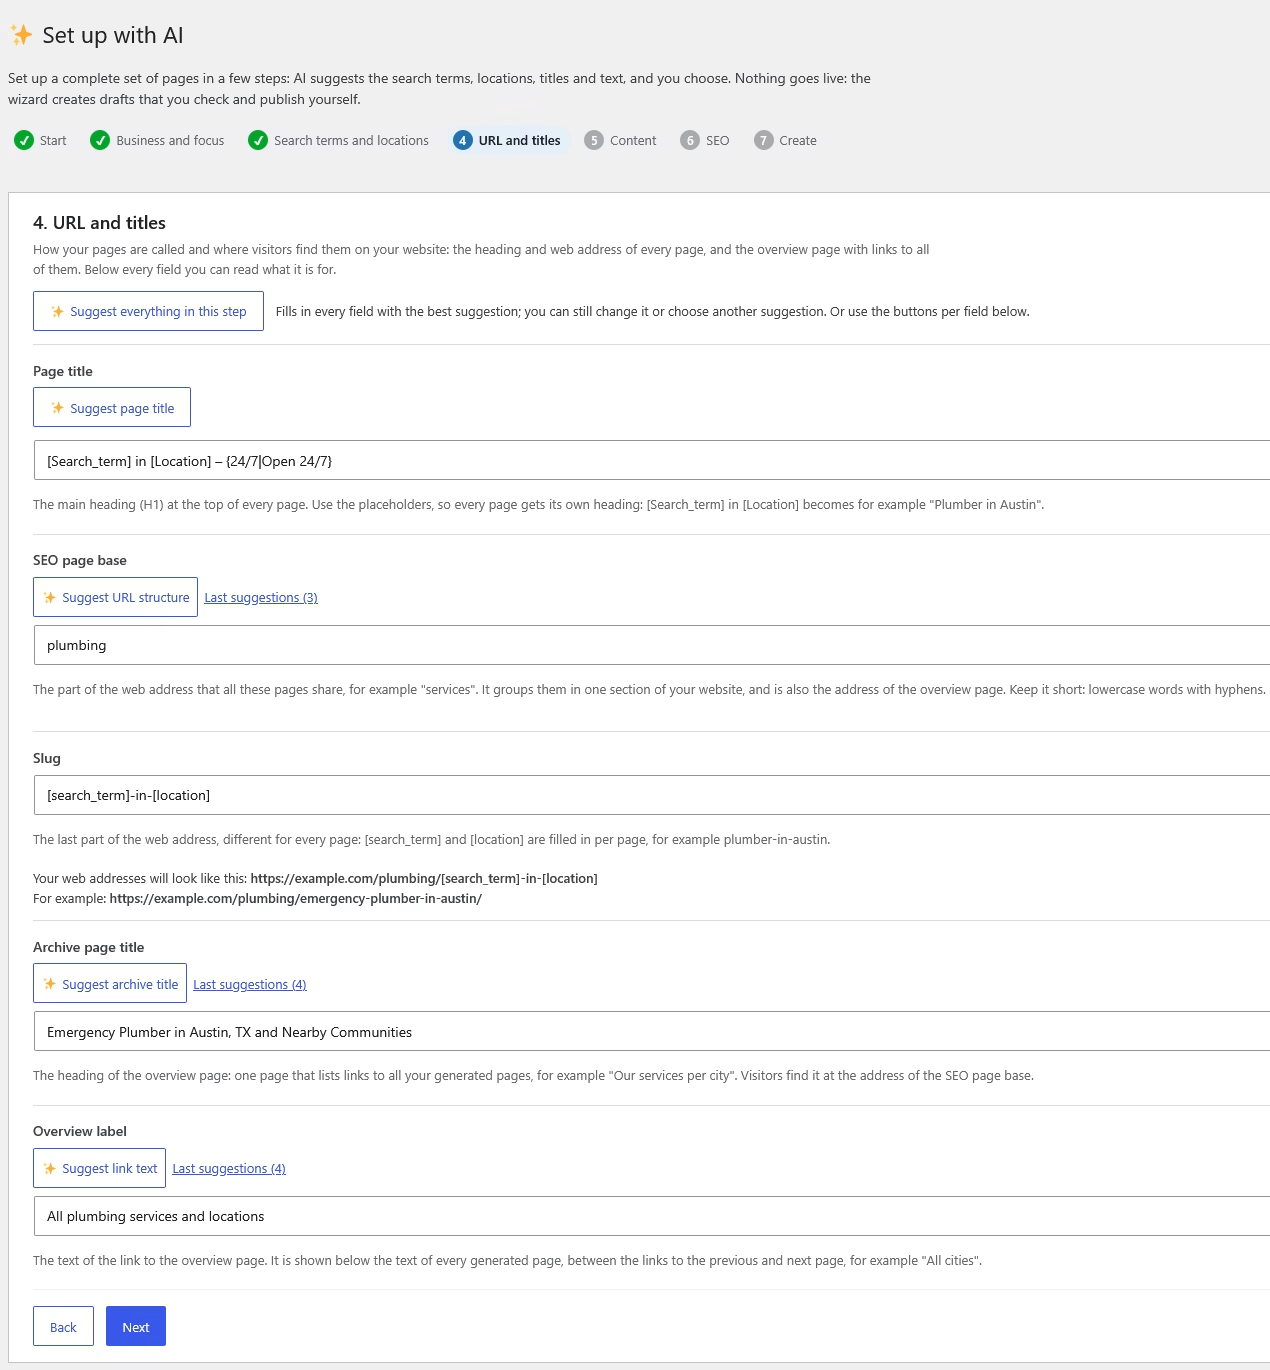
Here you choose how your pages are called and where visitors find them. Click Suggest everything in this step, or use the buttons per field. Below every field you can read what it is for.
- Page title: the main heading (H1) of every page, for example “[Search_term] in [Location]”, which becomes “Emergency plumber in Round Rock”.
- SEO page base and Slug: together they make the web address of every page. The wizard shows how your web addresses will look, with the address of your first page as an example.
- Archive page title and Overview label: the overview page with links to all your pages, and the link to it on every page.
5. The text of your pages
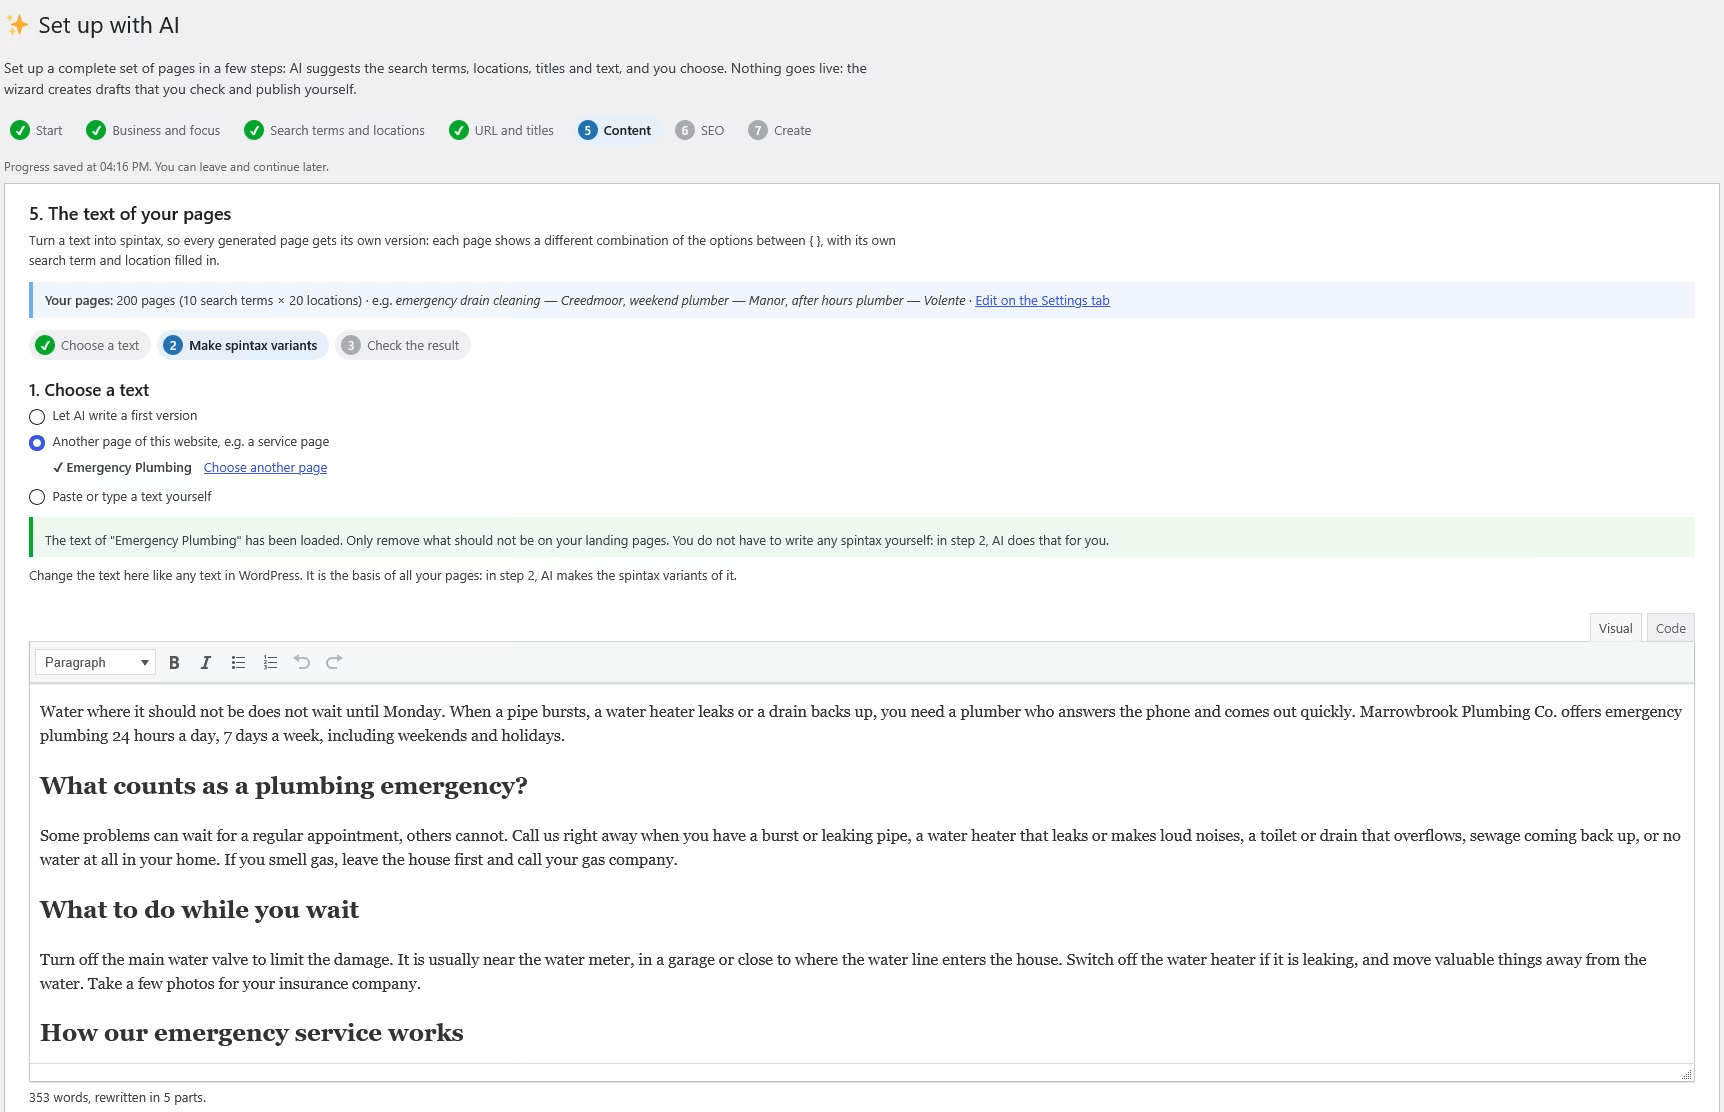
This step uses the Spintax Studio. It turns one text into spintax variants, so every page gets its own version.
- Choose a text: the page you chose in step 1, a text AI writes for you, or a text you paste yourself. You can change the text in the editor before you go on.
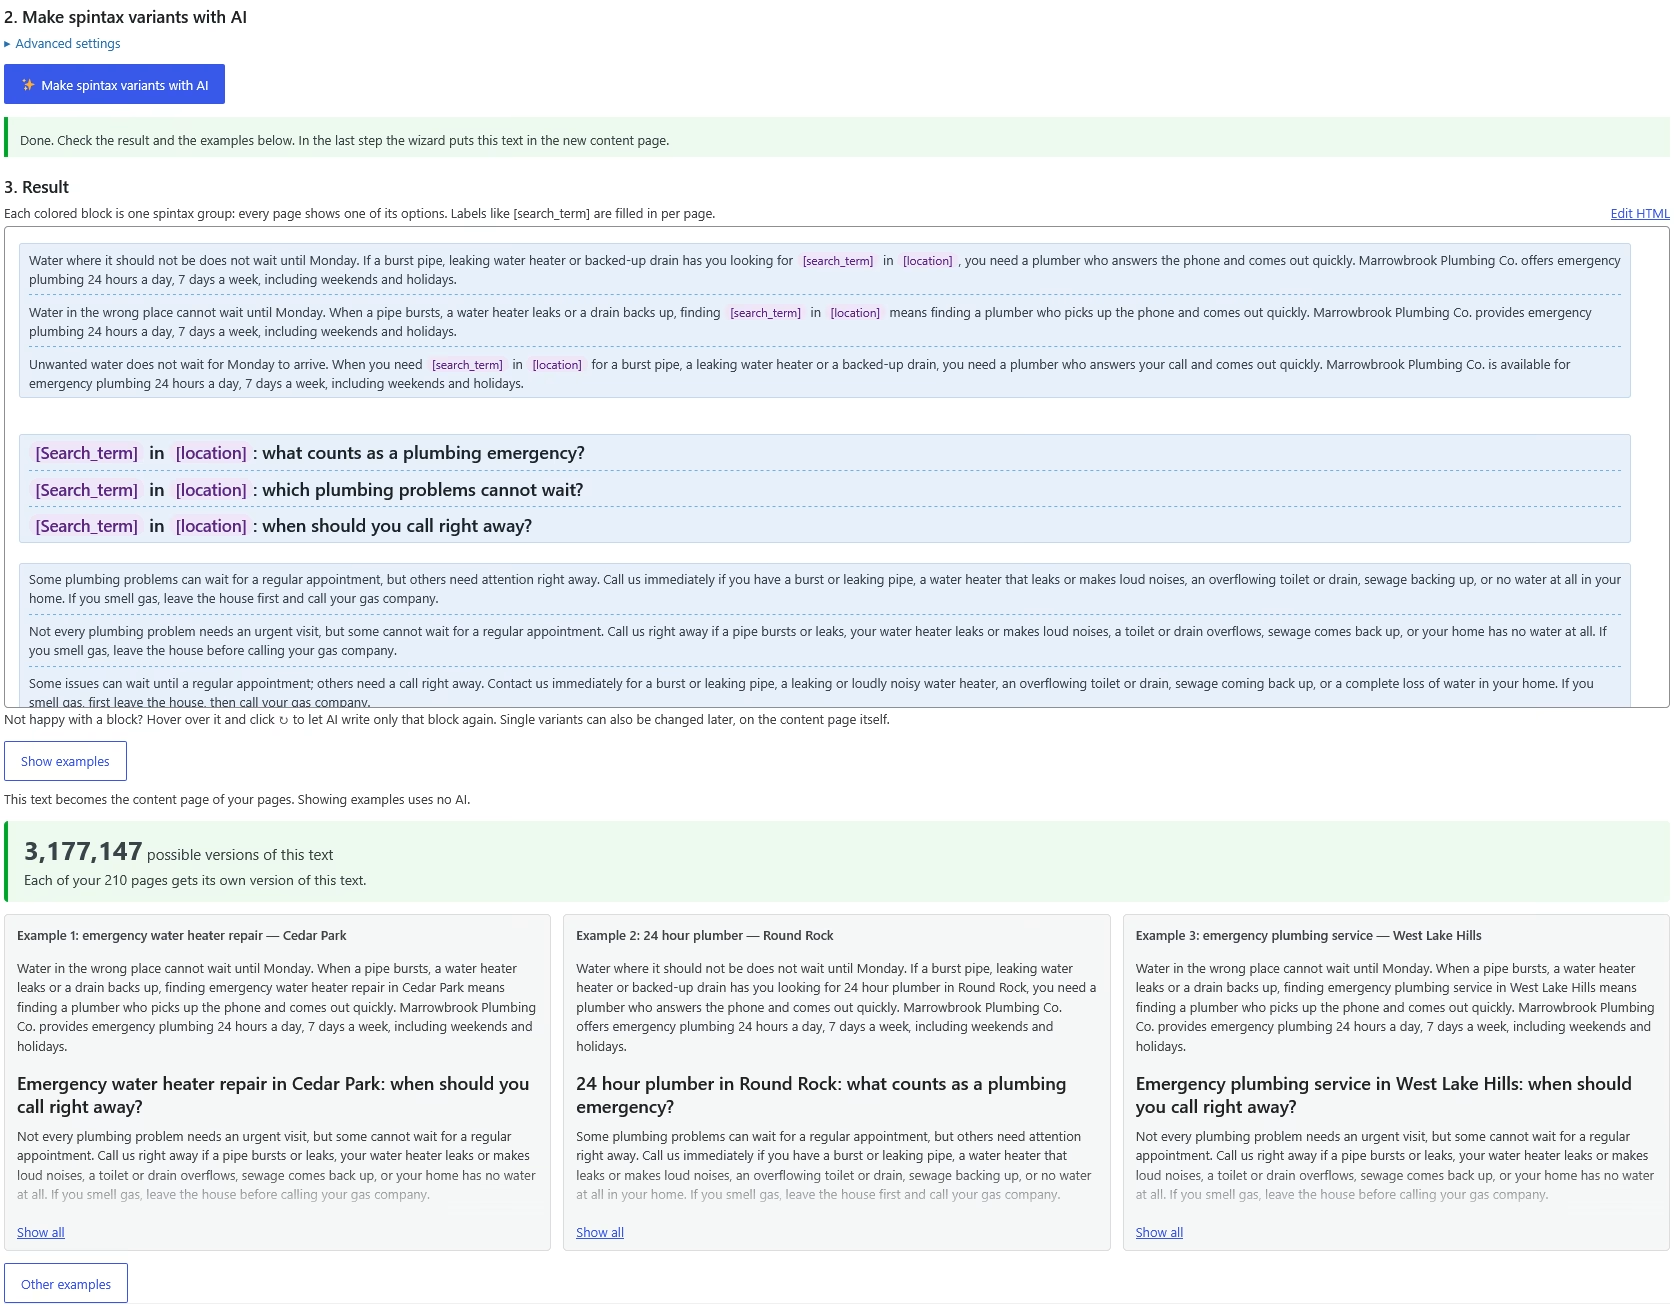
- Make spintax variants with AI. AI rewrites the text part by part. AI knows your search terms and writes sentences that work with all of them, so you do not get “an emergency drain cleaning” when your list has both people and services. Under Advanced settings, Search terms in sentences sets how strict this is: always correct, or natural text first.
- Check the result. Every colored block is one spintax group; every page shows one of its options. Below the result you see how many versions are possible and a few examples. Not happy with one block? Hover over it and click ↻ to let AI write only that block again.
6. SEO title and meta description
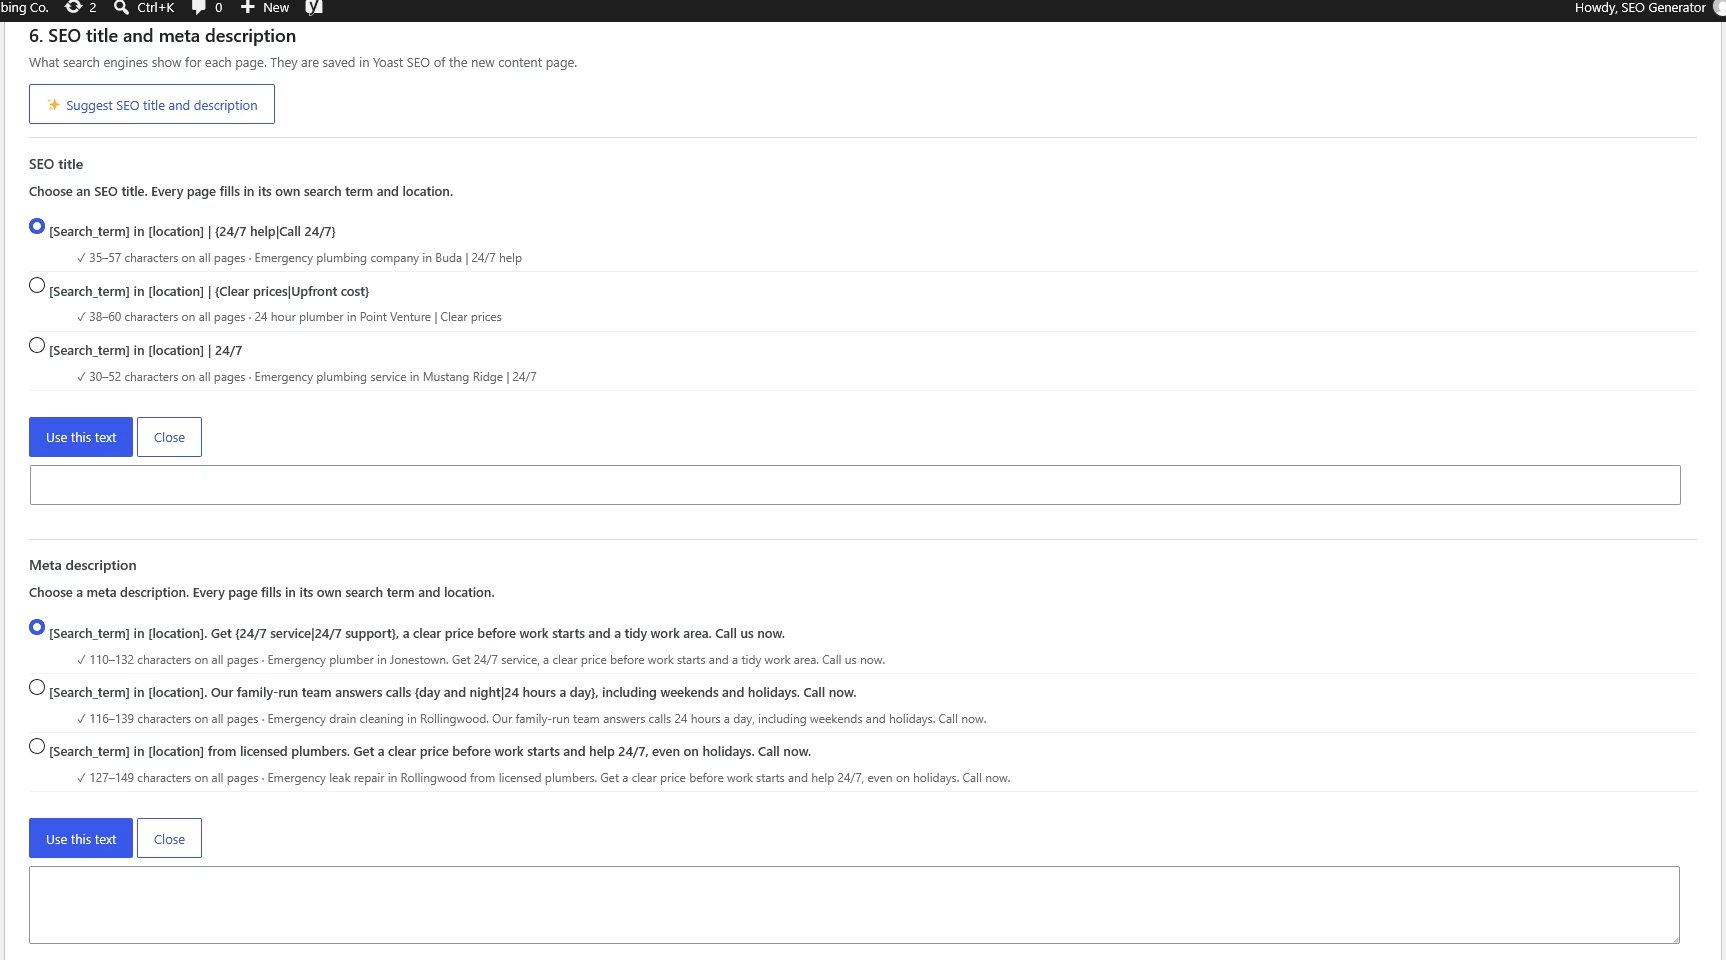
Click Suggest SEO title and description and choose a title and a description: select one and click Use this text below each list. For every suggestion you see how long it gets on your pages, with your real search terms and locations. When you use Yoast SEO, Rank Math, SEOPress or Slim SEO, the wizard saves them in your SEO plugin.
7. Create your pages
Check the summary and click Create as drafts. The wizard creates a settings page and a content page, both as drafts. Nothing is live yet.
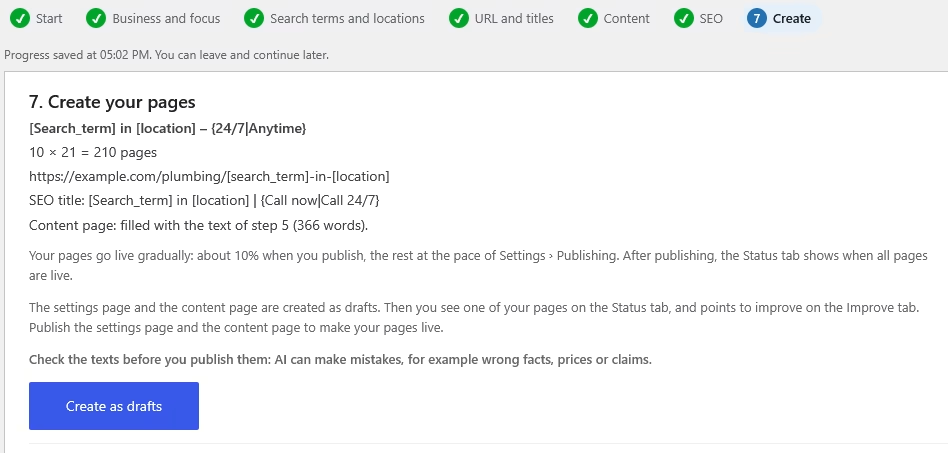
You then go to the new settings page. Before you publish:
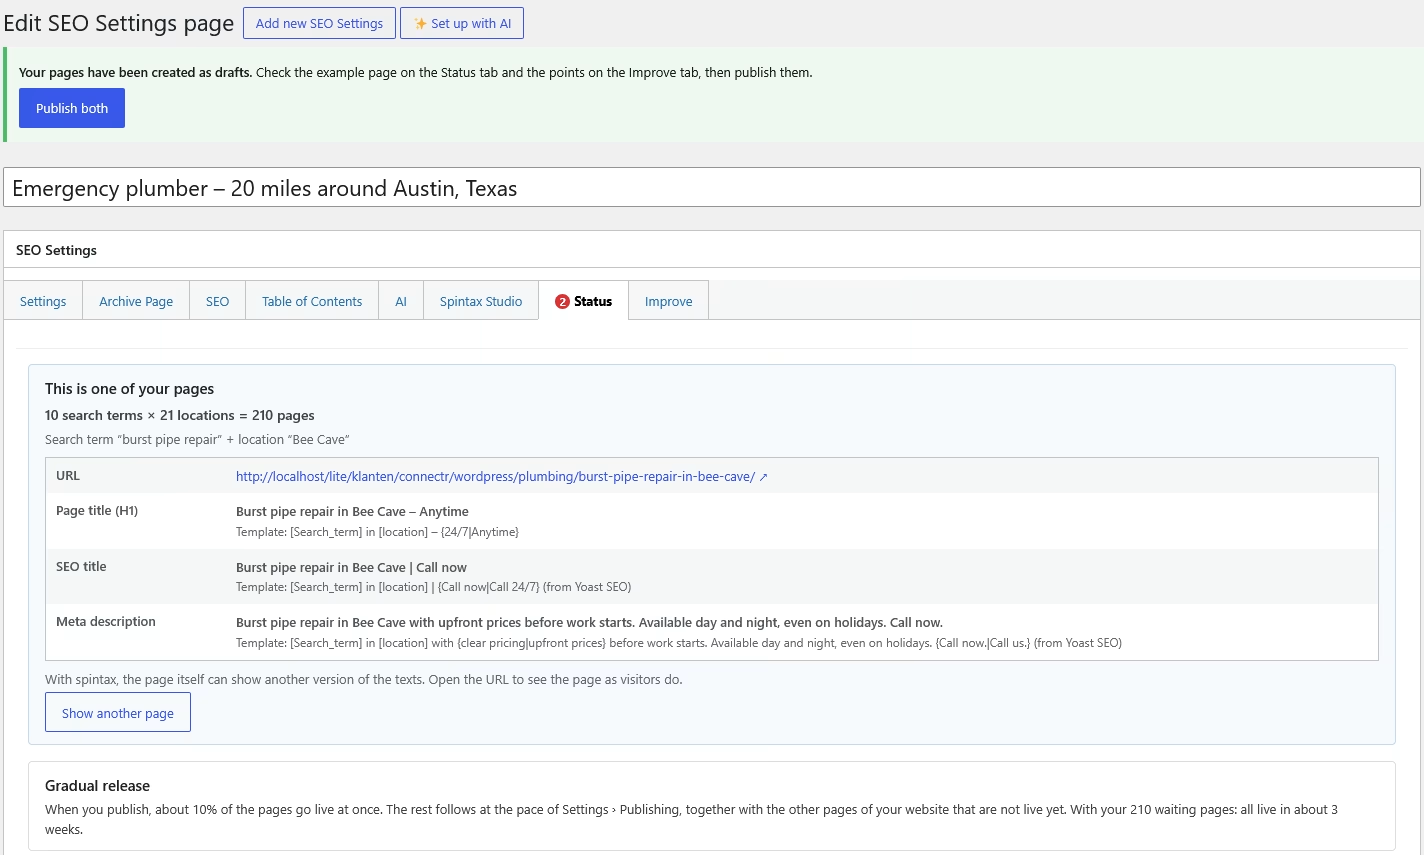
- Look at an example page on the Status tab and at the points on the Improve tab.
- Check the texts. AI can make mistakes, for example wrong facts, prices or claims.
When everything is right, click Publish both. With gradual publishing switched on, about 10% of your pages go live at once and the rest follows at the pace you set under Settings › Publishing.
Continue later
When you leave the wizard and open it again, it asks whether you want to continue where you left off or start over.